I present, Easy DIY Light up Christmas Shelf Decor!
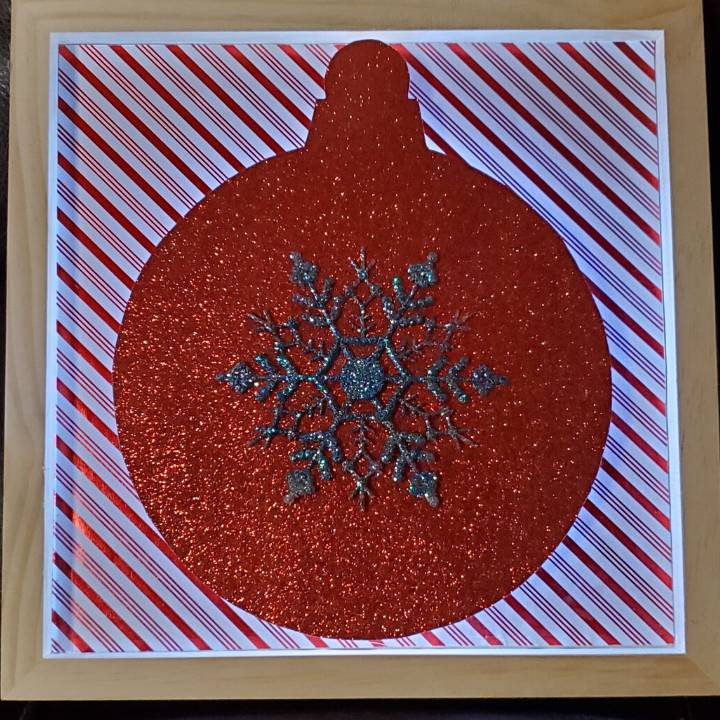
First up, the snowflake ornament.
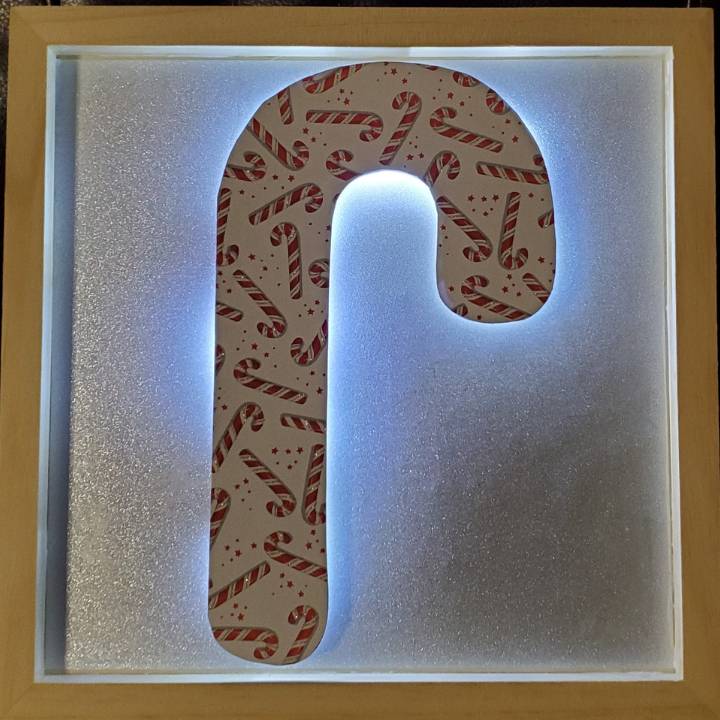
And second (and last) up, the candy cane!
I was determined to get a Christmas craft tutorial up before Thanksgiving. I was working on three different crafts pretty much the whole weekend. Including a large Merry Christmas sign I was working on with my husband.
But these light up Christmas boxes were so easy to do and they turned out exactly like I hoped they would.
I just love light up decor, especially around Christmas.
When there is a fire going in the fireplace and the Christmas tree is lit. You’re just nice and cozy, sitting on the couch, drinking hot cocoa and watching a Christmas movie on the television. This craft just adds to that whole ambience and that’s why I love it.
These Easy DIY Light up Christmas shelf decor are so easy to make and they can be customized to match any decorating theme.
For this post, I just went with a simple ornament and a candy cane. And most, if not all of the supplies can be found at the Dollar Tree.
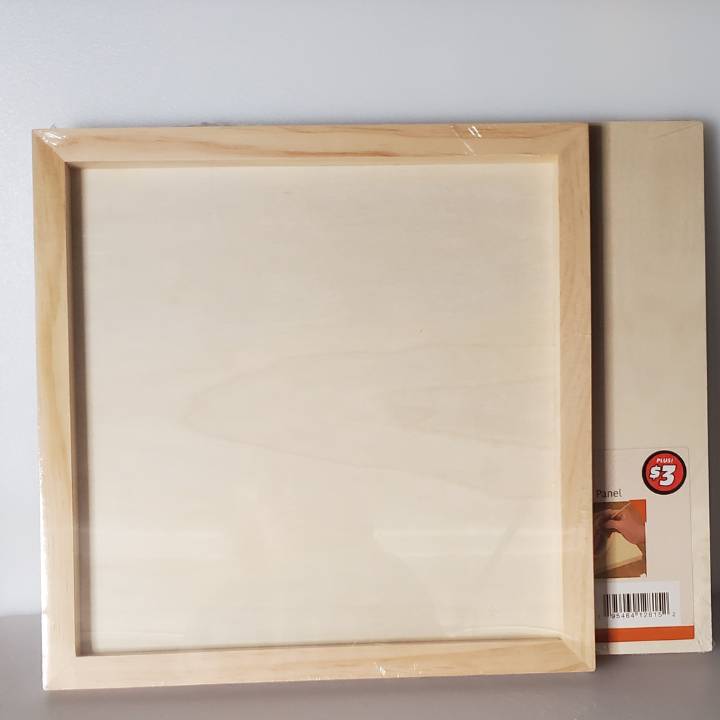
I started with these new wooden panels they have at the Dollar Tree. I actually used what is considered the back of the panel for this project. A few months ago, I was excited when I found the rectangle wood panels like these at the Dollar Tree plus spot.
They can be used for so many different crafts.
Then the other day, I saw these square ones and I knew that cardstock could be cut to fit inside them! So I was super excited about these ones.
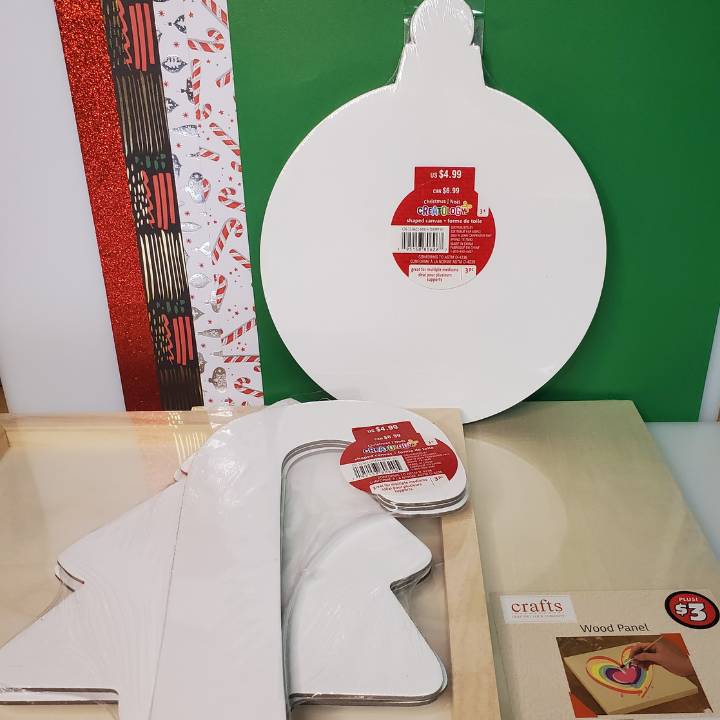
Now I only needed four supplies for the first half of this craft. Some cardstock, canvas panels (from Michael’s), the Dollar Tree wood panels, and some mod podge.
You do not have to use the canvas panels to make your easy diy light up Christmas shelf decor box!
Especially if you are using cardstock as the decorative item that will be ‘floating’ in the Christmas box. But if using wrapping paper or some other thinner paper, buy some foam board at the dollar tree and free hand draw whatever theme item you need.
I am not the kind of person that can draw a straight line or even a circle.
And when I saw these at the store, I had planned on painting them, so I just went ahead and used them.
I did not paint or stain the frame part for this craft, but you could do that if you prefer. I just cut a piece of cardstock I had and used mod podge to glue it inside the frame of the back of this wood panel.
Then I set it aside to let it dry.
Next, I traced the ornament and candy cane on the back of the piece of cardstock I was using and cut it out.
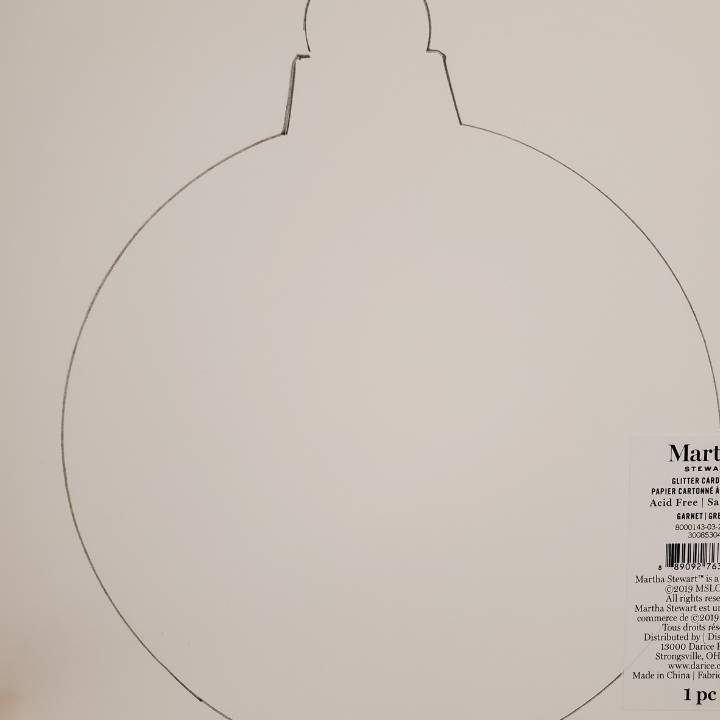
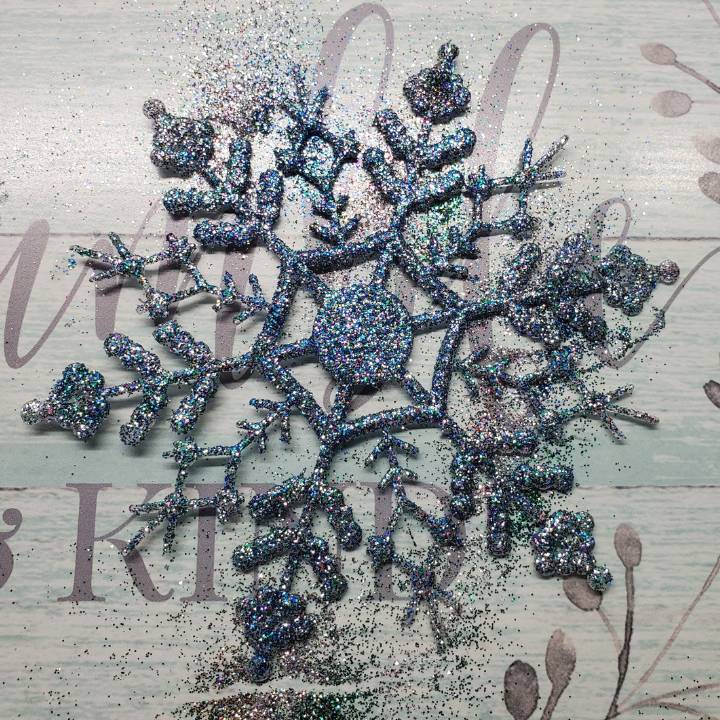
Next, I glued the cardstock ornament I just cut out to the canvas panel. While that was drying, it was time to glitter up my embellishment. I was using a snowflake I found at the dollar tree, so I just used some mod podge and sprinkled glitter on it.
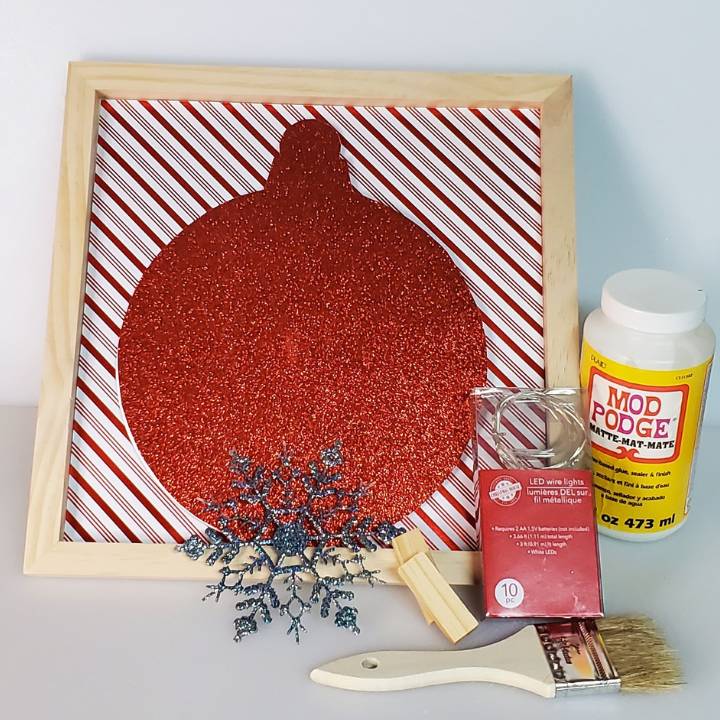
Now, for this last part, I used some mod podge, the wood panel, the cut out, embellishments/decorative pieces, if any, some wooden blocks, a glue gun (not pictured) and some battery powered lights from the Dollar Tree.
First, I used mod podge and glued the snowflake on my ornament.
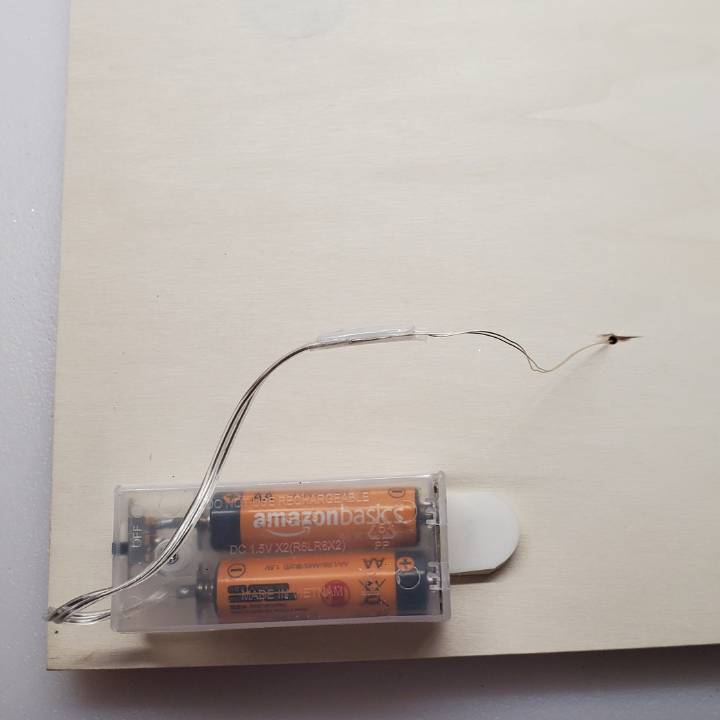
Next, I drilled a small hole in the back of the wood panel, near the bottom and fed the lights through so they were in the front of my project. I used a command strip to hold the battery back on the back.
If you plan on hanging your Christmas box in the wall, I would use a command hook to attach it to the side of the wood panel, or you could use some of the wooden blocks and glue to the back to hold a hanger for the wall.
I plan on using them on a shelf or on my mantel, so I’m attached them to the back, with the on and off switch near the side to easily reach around and turn them on and off.
Next, I took some wooden blocks and used my glue gun to glue them on the panel. Then I wrapped the lights around the blocks.
Make sure you place them where your cutout will cover them.
I used two to hold my ornament cut out and ended up using a total of four to hold the candy cane, so I could make sure the whole candy cane was lit up.
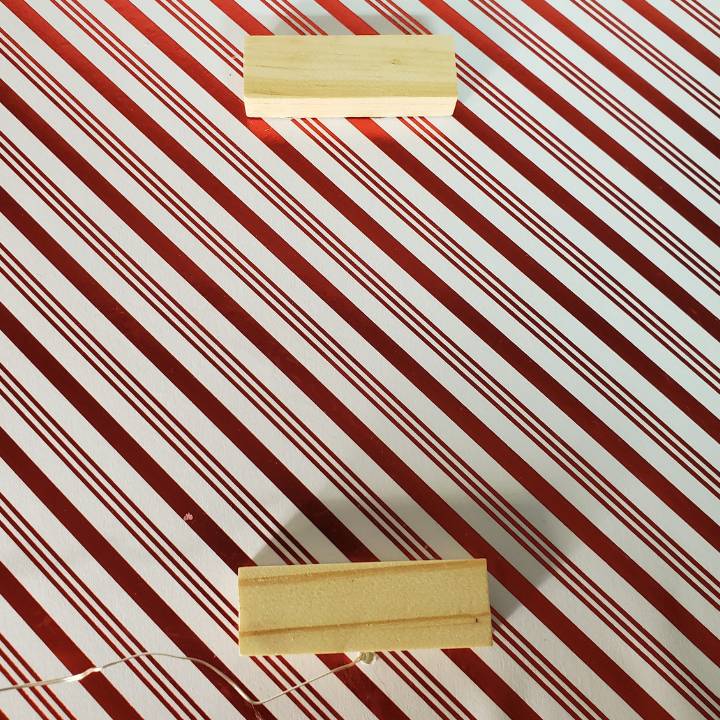
I used my glue gun and glued the lights in two places on this one for the candy can, so I could make sure the lights were up under the bottom of the candy cane.
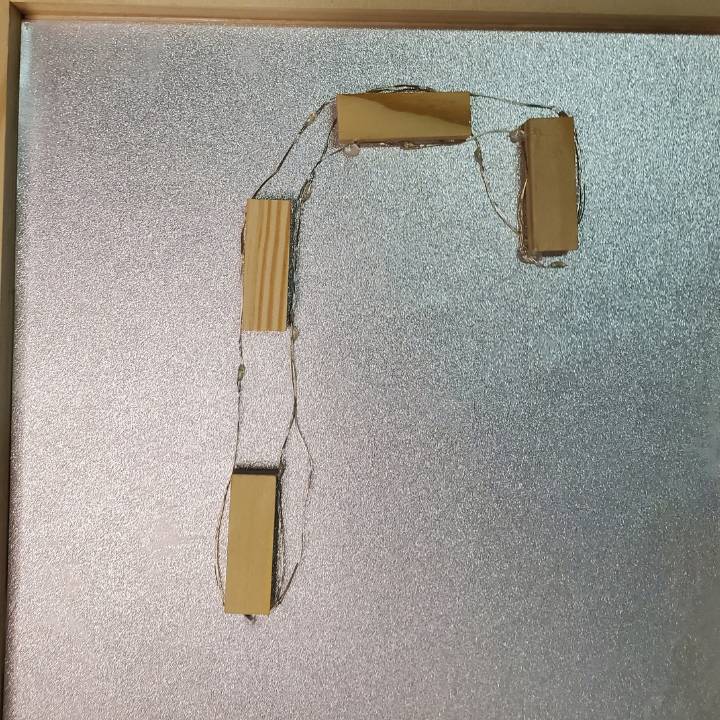
I turned the lights on so I could see where they actual lights would be when I glued the candy cane down.
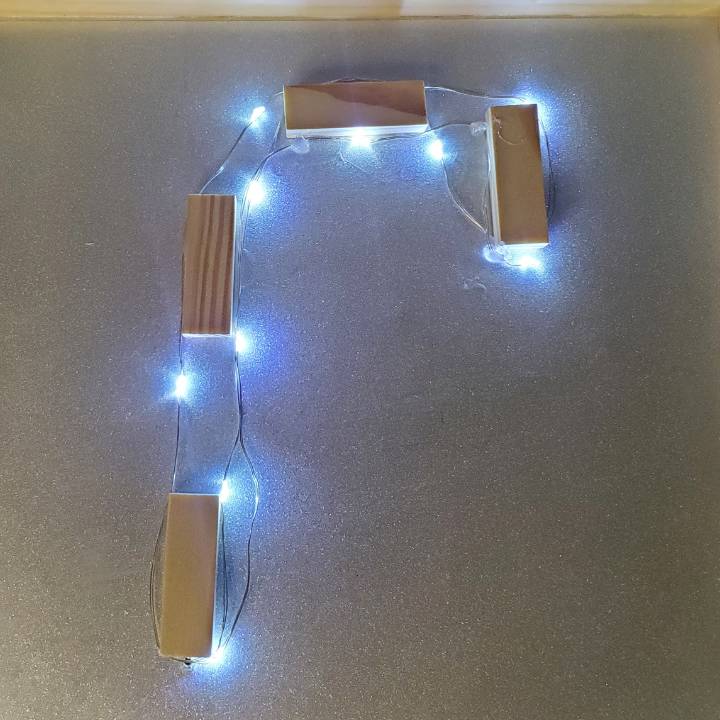
And now, the grand finale!
I glued the cut out to the wooden block and and then stepped back to admire my new easy light up Christmas shelf decor box!


Seriously, how cute are these? I just completely love them and the pictures do not do them justice at all!
I am also so stoked at how many possibilities there are to customize these easy diy light up Christmas Shelf decor! You could use window clings, something from Cricut design space, quotes, wreaths, I mean the possibilities are endless.
Leave a comment and let me know if you tried this and how it turned out! Any tips or suggestions? What have you used these wood panels for?
Looking for other Christmas crafts, diys or home decor?
How to turn paint/ruler sticks into Reindeer names wall decor
Canvas wall Décor for the bathroom
Custom Rustic/Farmhouse diy EAT sign
Easy diy dollar tree light up Christmas shelf decor

Make this cute and easy DIY Dollar Tree light up Christmas Shelf decor. A fun way to take Christmas decorating to a whole new level!
Materials
- Wooden box or frame
- Card stock or some type of heavy paper
- Canvas panel
- mod podge
- embellishments/decorative pieces
- wooden blocks
- fairy lights or other battery operated lights
- paint and/or stain
Tools
- Glue gun
- glue sticks
- Drill with bit
Instructions
- Use whatever backing you're using for the back of your project, cut it to size and mod podge it to the inside of your frame.
- Next take your canvas panel or whatever design you're using and trace it on the paper you're using.
- Cut the design out and mod podge it onto your canvas panel.
- While that is drying, go ahead and paint or use glitter on any embellishments, if needed.
- Next drill a hole in the back of the frame to feed the fairy lights through.
- Take your wooden blocks and glue them down. Make sure you place them where the design will cover them.
- Once dry, wrap your fairy lights around the blocks. Add a drop or two of hot glue to keep the lights where you want them.
- Lastly, take your cut out design and glue it to the wooden blocks. And turn the lights!
Notes
- You do not have to use the canvas panels for this! Especially if you are using cardstock as the decorative item that will be 'floating' in the Christmas box. But if using wrapping paper or some other thinner paper, buy some foam board at the dollar tree and free hand draw whatever theme item you need
- I used a command strip to hold the battery back on the back. If you plan on hanging your Christmas box in the
wall, I would use a command hook to attach it to the side of the wood panel, or you could use some of the wooden blocks and glue to the back to hold a hanger for the wall. I plan on using them on a shelf or on my mantel, so I'm attached them to the back, with the on and off switch near the side to easily reach around and turn them on and off.

[…] Easy Dollar Tree light up Christmas box […]